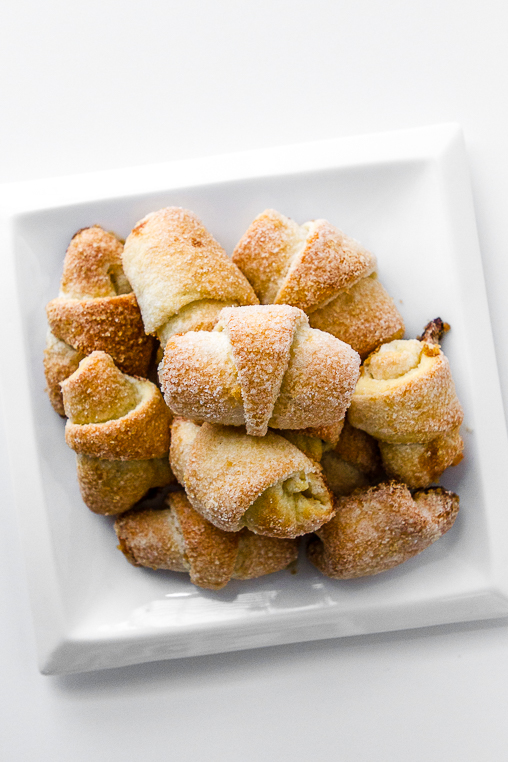
My parents came to visit last month and I was able to kill two birds with one stone, um, I mean, cookie. I got to make our traditional family cookie with my mom AND participate with said cookie in the Great Food Blogger Cookie Swap!
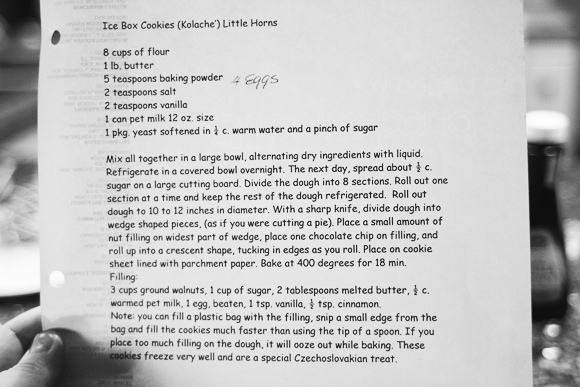
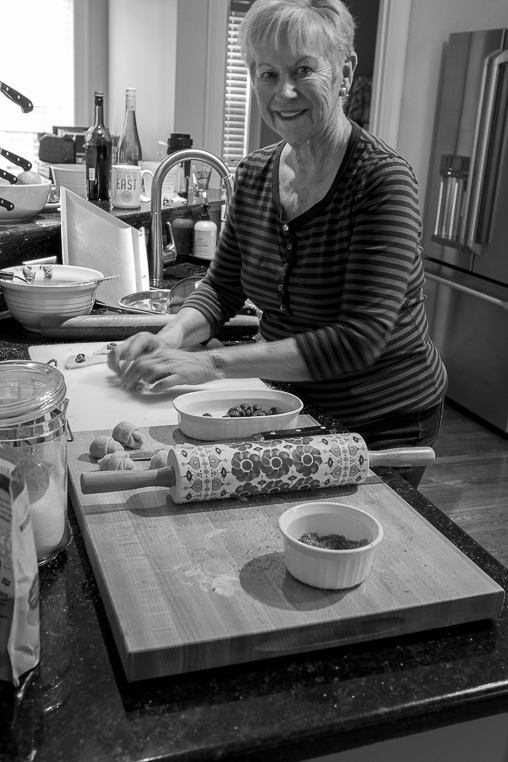
A Christmas family tradition of ours is to make “Nana’s Cookies”, also known as “Ice Box”, “Little Horns,” or “Kolaché” cookies. These cookies are a two-day labor of love process and one batch can make up to 180+ cookies! In early December, my mom usually has my brother Bob, my sister-in-law Jodi and some of the granddaughters over to her house and they make Nana’s cookies assembly line style. I have missed this tradition, as I am normally not home in Michigan mid-December for the cookie-making party. This year, however, mom was in Tennessee for Thanksgiving, so we made them together!
My Nana (my dad’s mom) used to make these special Czechoslovakian cookies every Christmas and now my mother has not only carried the torch but passed it along to me and some of my sibs and nieces. Nana was quite strict about placing only ONE chocolate chip in each cookie. One of my earliest baking memories was being given the all-important job of pressing the single chip into the filling of each cookie. One chip works well; a sweet little chocolate surprise bite you’ll find your mouth searching for each time you eat a new cookie (that is, if you don’t stuff the whole thing in your mouth at once like my brother Mike does). Be prepared for a lengthy cookie manufacturing time; it’s intricate and involved. It’s a good idea to enlist the help of family and friends, as these cookies are definitely a labor of love!
DAY ONE – Dough Day
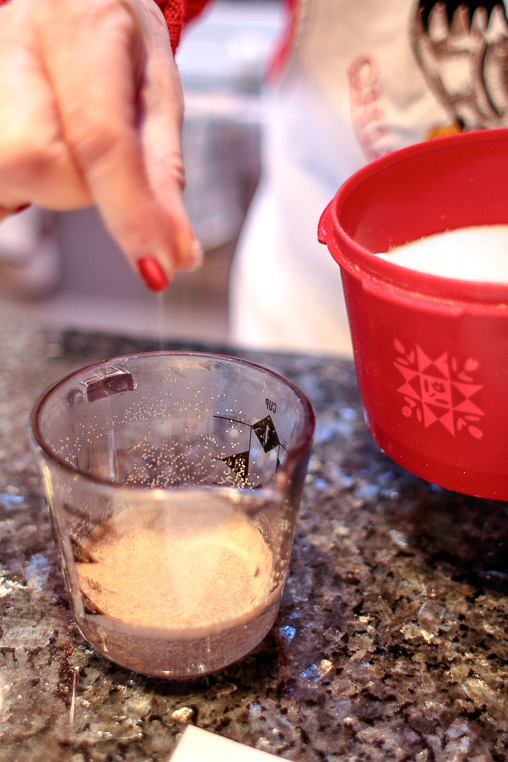
You must make the dough one day in advance and allow it to chill in the fridge overnight. Get the butter out and allow it to come to room temperature. Heat 1/2 cup of water in a measuring cup until it reaches 140 degrees°F. Add 1 packet of yeast to the water along with a pinch of sugar and let it sit, allowing it to puff up a bit.
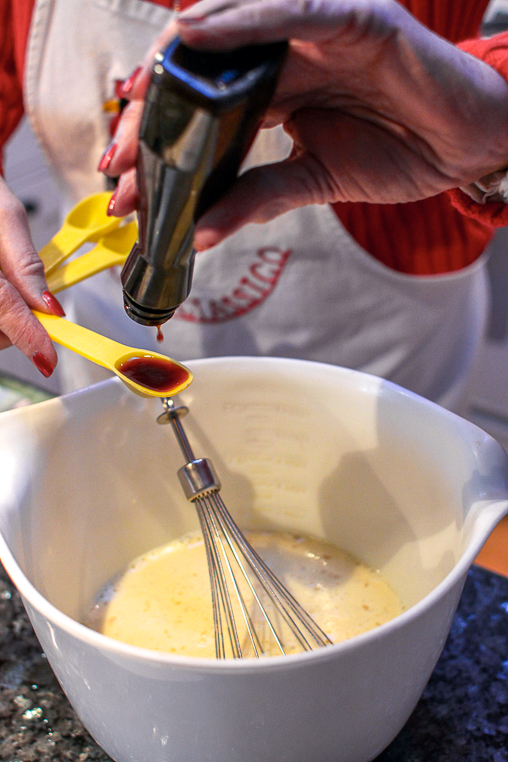
Take the room temperature butter and cream it on high until smooth in a stand mixer. In a separate bowl, whisk together the PET milk, eggs and vanilla. Add the yeast mixture to the milk, eggs and vanilla. You’ll notice before adding the yeast mix that it will have doubled in size.
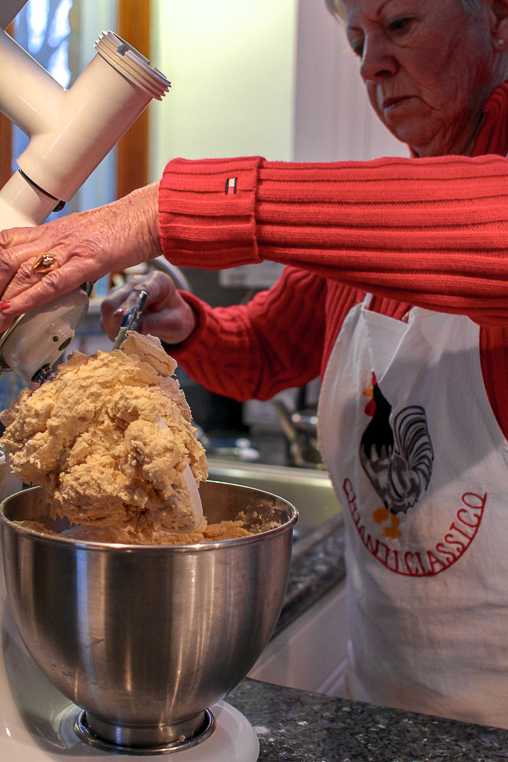
In a separate large bowl (hope you have lots of large bowls!) sift together the flour, baking powder and salt. Begin to alternate dry then wet ingredients into the creamed butter in your stand mixer. Mom says it’s a good idea to use a splash guard attachment if you have one.
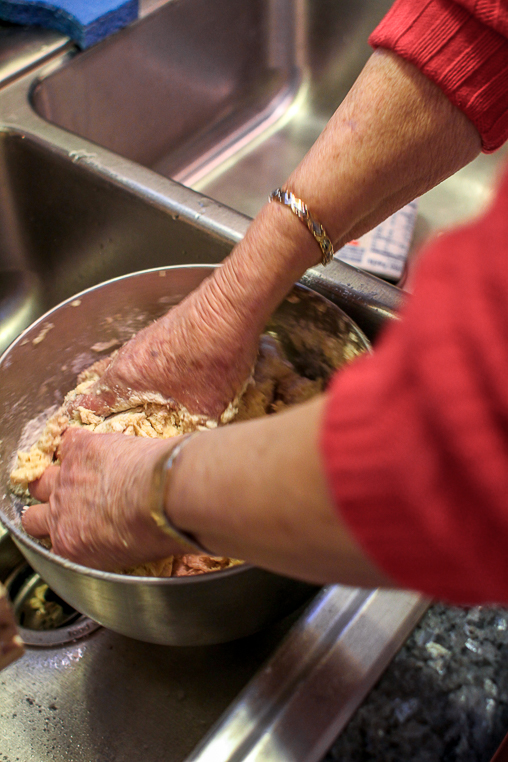
Eventually the dough will be too much for the mixer to handle, so you must finish the final mixing by hand.
Once the dough is well incorporated, smooth it down (with hands or the back of a spoon), place plastic wrap snugly over the top and refrigerate overnight.
DAY TWO – Cookie Making Day!
Time to make the nut filling. Blitz 3 cups of walnuts in a food processor until finely ground. Add sugar, melted butter, PET milk, egg, vanilla and cinnamon. Mix well and place in piping bag or zip top bag with one end snipped off for squirtability. ONWARD!
Next step: get Christmassy red manicure to perfectly match jazzy sparkle reindeer shirt.
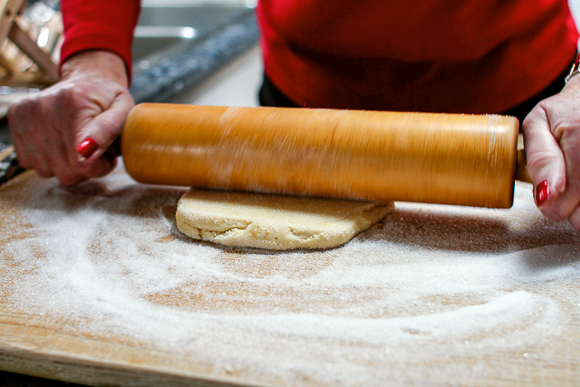
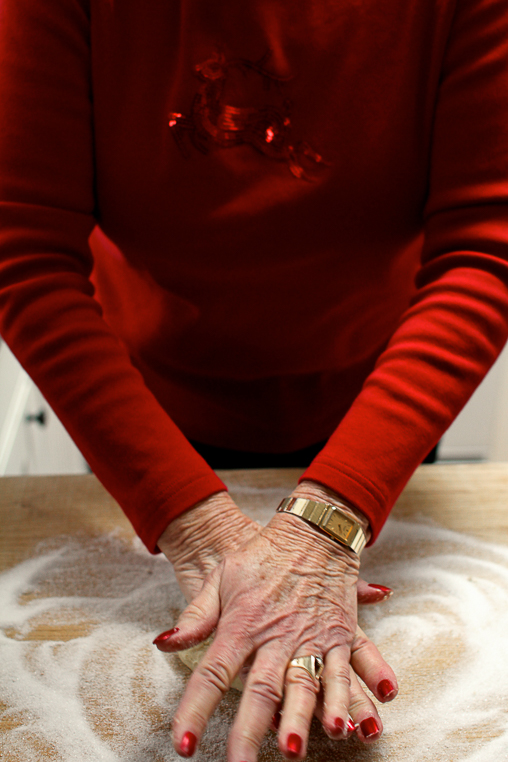 Take your biggest cutting board and “flour” it with sugar. The dough has no sugar in it, so this is your sweetness. Keep your sugar jar on hand, as you will need to add more as you go. Cut 1/6 of a piece of the dough out of your bowl in the fridge. Flatten first with your hands, then roll out with a rolling pin until the dough is about 1/4″ thick. Try to get the dough into as much of a square form as possible. Flip flop both sides of the dough in sugar.
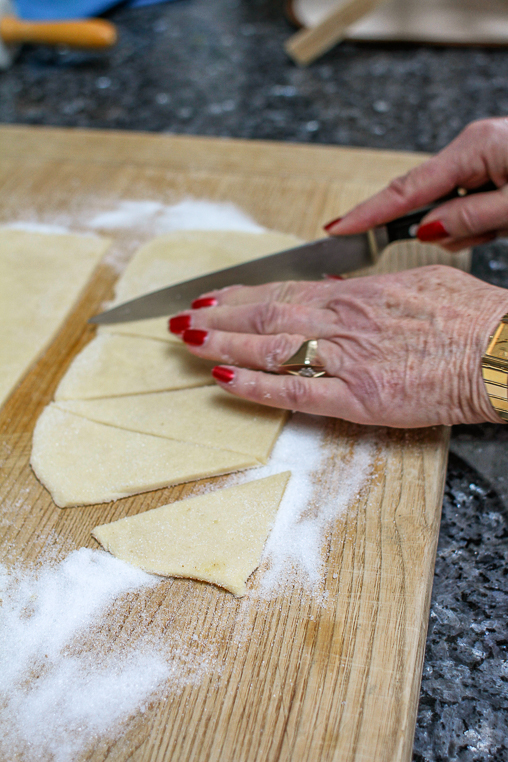
 Cut the dough in half, then cut the halves into wedges, like little pie pieces.
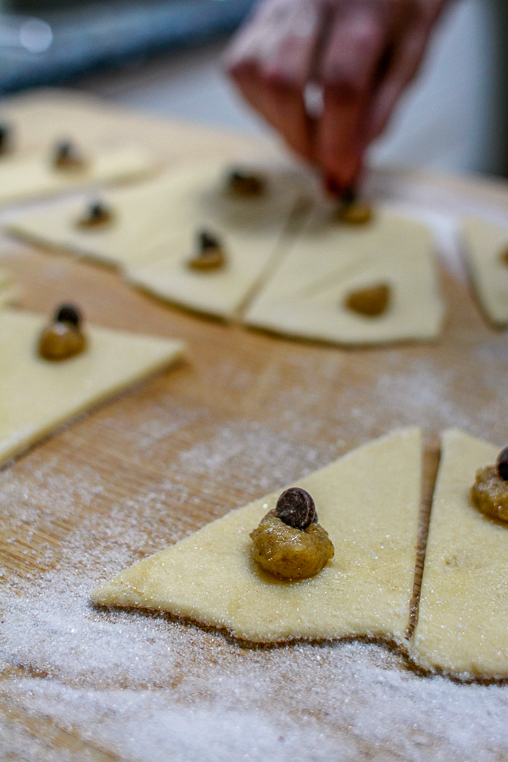
 Take the nut filling and pipe a dot of it (the size of a dime) on the wider end of a dough triangle. If you add too much filling it will ooze out of the ends of your cookie, so experiment with how much or how little filling you want to add.
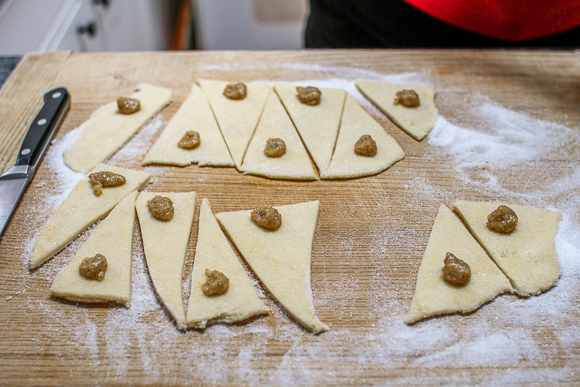 Next add a single chocolate chip in the center of each filling circle. I used Ghirardelli dark chocolate chips. YUM.
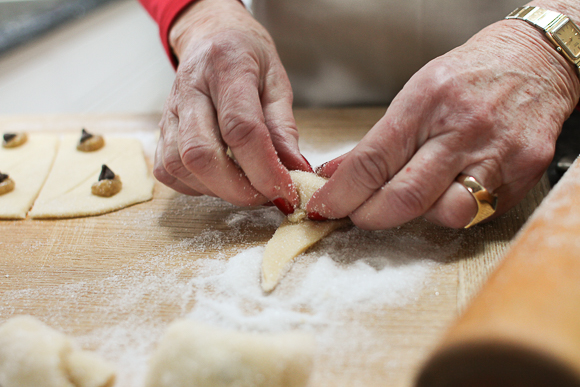
Rolling time… The dough will be stretchy, so take the cookie by the fat end and give it a little stretch.
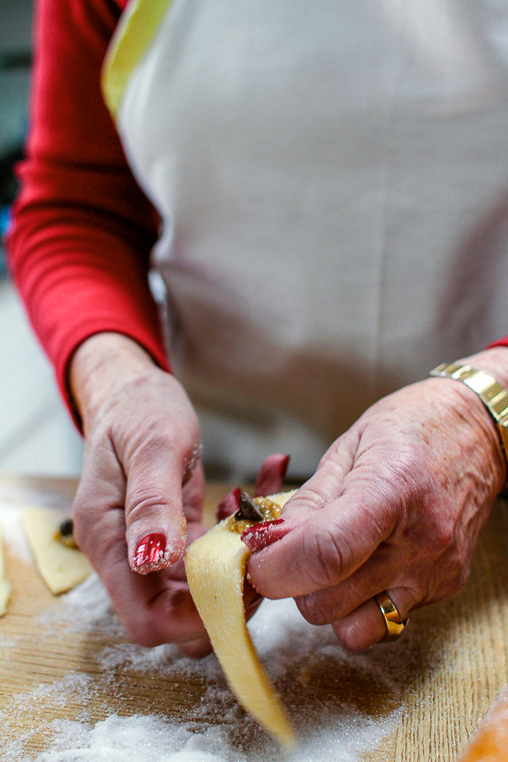 Fold the two ends at the wider part over the chip and filling, kind of like burrito-style.
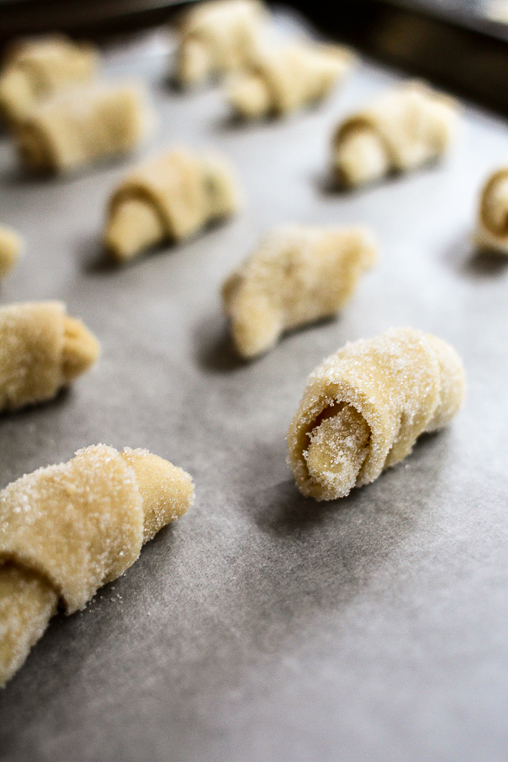
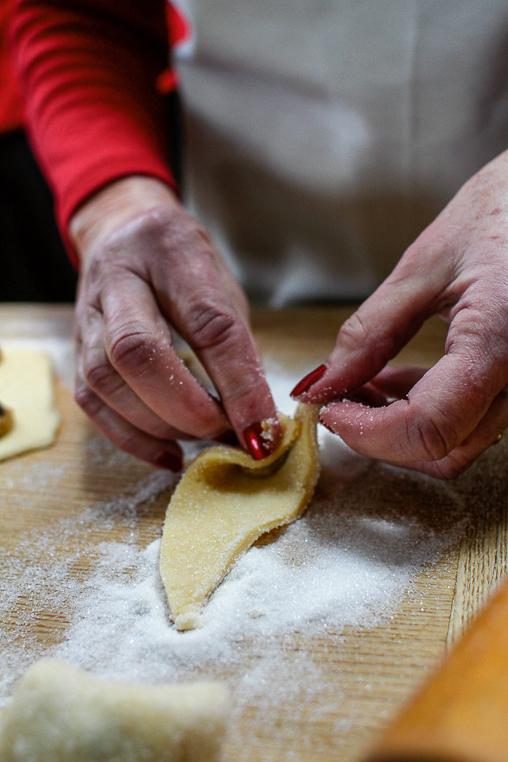 Complete the cookie by rolling from the fat end to the skinny end. The dough’s point should be tucked underneath the cookie on the cookie sheet when baked.
Bake on a parchment lined cookie sheet at 400°F for 15-18 minutes.
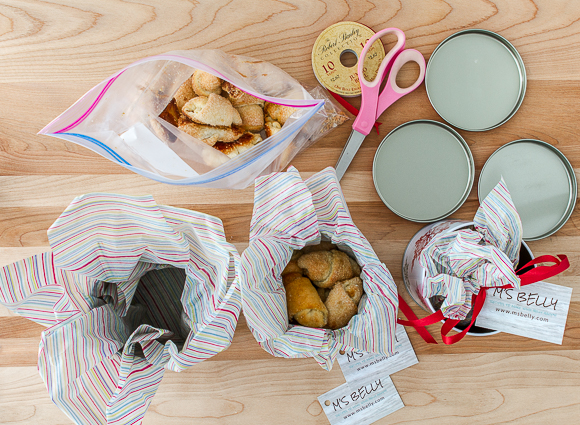
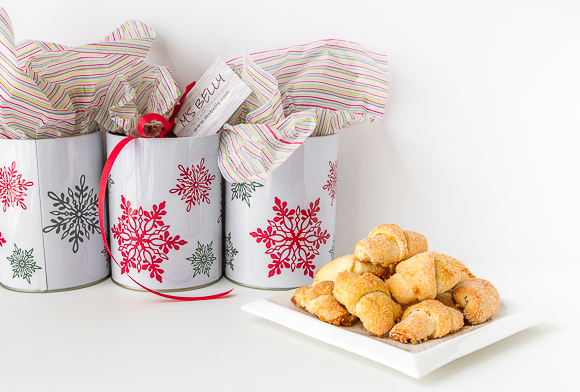
Lastly, bask in the glory of your finished product! Good job!!! So the Food Blogger cookie swap was to benefit Cookies For Kids’ Cancer and my old (I should say former, as she’s actually quite young) neighbor, Lindsay, helped orchestrate over 500 food bloggers ship over 20,000 cookies to help raise over $12,000! Pretty impressive to say the least. I got to ship my Nana’s cookies to Pennsylvania (fitting, as it was where Nana was born), Florida, and California. Click on the links to read about cookie recipes from those lovely ladies!
Nana’s Cookies
Dough prep time: 24 hours
Cookie rolling time: 2+ hours (this depends upon how many hands you have helping!)
Makes: 180+ cookies!
- 8 cups all-purpose flour
- 1 lb unsalted butter, room-temperature
- 5 teaspoons baking powder
- 2 teaspoons salt
- 4 whole eggs
- 2 teaspoons vanilla
- 1 cup PET evaporated milk (save the extra, you’ll use it tomorrow in the nut mixture)
- 1 envelope active-dry yeast
DAY ONE – Dough Method:
- Heat 1/2 cup water until it reaches 140°F. Add yeast packet to water with a pinch of sugar. Set aside until doubled in size.
- Using a stand mixer, cream the room temperature butter until smooth and set aside.
- In a separate large bowl, mix together the PET milk, eggs and vanilla. Once the yeast mixture has doubled in size, add it to the milk, eggs and vanilla mixture.
- Using another separate large bowl, sift together the flour, baking powder and salt. Begin alternating dry, then wet ingredients into the creamed butter in the stand mixer.
- Mix on medium-low until the dough comes together. Knead dough by hand once it becomes too much for the mixer to handle.
- Smooth the top of the dough down, wrap with plastic wrap, and store in the refrigerator overnight.
Nut Filling Ingredients:
- 3 cups walnuts, finely ground in a food processor
- 1 cup sugar
- 2 tablespoons melted butter
- 1/2 cup room temp PET milk (should be the remainder of the can left from the day before, make sure you refrigerate it overnight, then allow it to come to room temp the next day before mixing into the nut mixture)
- 1 whole egg, beaten
- 1 teaspoon vanilla
- 1/2 teaspoon cinnamon
Cookie making ingredients:
- 2-3 cups of granulated sugar, in which to roll the cookies
- 1 bag of chocolate chips (I like the Ghirardelli 60% cacao kind)
DAY TWO – Cookie Method:
- Mix the above nut filling ingredients together well and place in a ziploc bag with one end snipped off, or a piping bag. Set aside, keeping at room temp.
- Generously sprinkle a large cutting board with a cupful of granulated sugar, adding more as you progress.
- Cut the dough into 6 pieces, remove a piece and place the dough back into the fridge.
- Flatten the dough piece using your hands, then with a rolling pin. Roll the dough until it is 1/4″ thick in the shape of a square. Flip both sides in the sugar.
- Cut the rolled out dough in half, then cut the halves into wedges, like little pie pieces.
- Using the nut filling, pipe a dot almost the size of a dime onto the wider end of each dough’s triangle.
- Place a single chocolate chip into the center of each nut filling dollop.
- Roll the cookies on the sugared cutting board from the wide end to the narrow end, tucking the sides in as you progress. See above photos for Nana precision rolling instructions. Tuck the pointed end underneath the cookie before placing it on a parchment lined baking-sheet.
- Bake at 400°F for 15-18 minutes. Continue and repeat until all the dough is used!
- Ship to loved ones everywhere!
