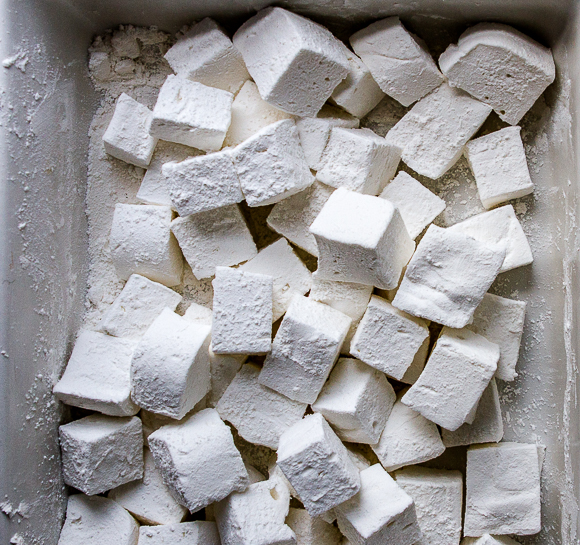
When I told my sister I made marshmallows she laughed and said, “why?”. I know she thinks I am ridiculous and also that I should have another kid if I have enough time on my hands to make homemade marshmallows. In my defense, I’ve been planning to make my own marshmallows for months now, and I’ve finally found the time to do so. As proof, the unflavored gelatin has been sitting in the dark pantry just patiently waiting to be used since last June.
At the turn of the 19th century, marshmallows used to be something more than what you’d make a s’more with or place in hot chocolate. A sweet confection sold in patisserie shops; marshmallows were a Parisian treat typically flavored with rose water. I am very happy to write, once again, it is FINALLY socially acceptable to eat a marshmallow (something I’ve been doing for years!). No cocoa, no s’more, nothing. Just pop in mouth and enjoy!
I am not a fan of rose water because I think it smells like old houses, so I opted for vanilla flavoring. Making the marshmallows is a pretty simple process with a lot of wait time and after the week I had of teething, sleeplessness and ear infections with Baby P, it was a welcome distraction. Have I mentioned the dark places a person can go to because of lack of sleep? Good thing he’s so dang cute.
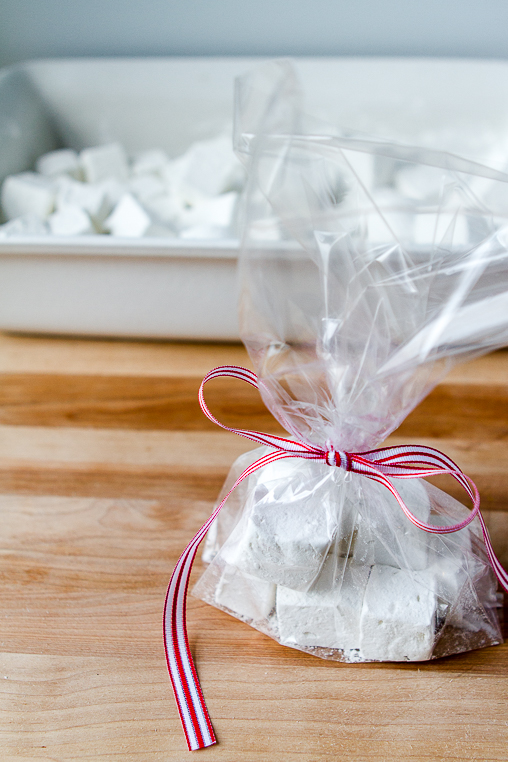
I had great success on my first marshmallow recipe attempt. The Hubs ate one last night and declared it the best marshmallow he’d ever eaten. These are not at all like the powdery, dry, stale puffed marshmallows you find in your grocery store aisle. They have a great spongy texture and vanilla flavor, and after eating (many) I’m not sure store-bought marshmallows will ever do again for this household! I think it would be sweet to give these to neighbors along with a homemade cocoa mix for the holidays. Yep, I said it, for the holidays.
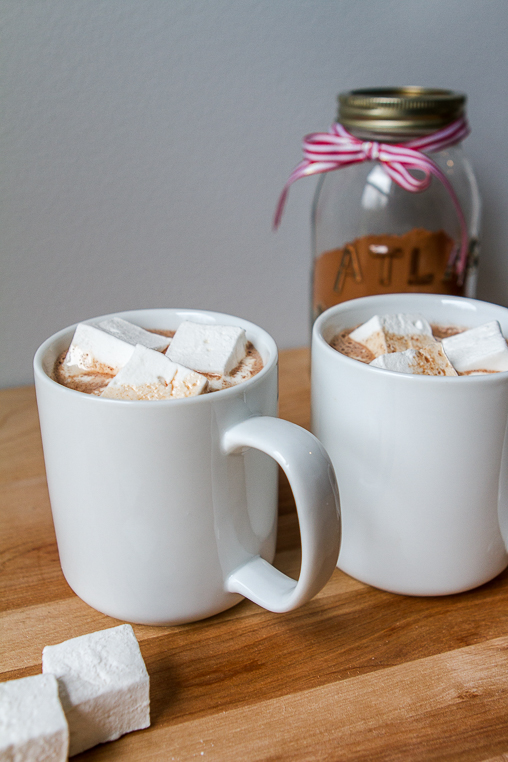
The cocoa mix couldn’t be simpler, mix sugar, cocoa powder and add a little table salt. DONE. Put it in a mason jar with a bow and you’ve got yourself a pretty and simple gift. If you want it extra fancy like me, add a tablespoon of espresso powder and voila! You have mocha. To make hot cocoa-mocha, simply whisk 2 tablespoons of the mix with a cup of warm milk. Serve with lots of mallows.
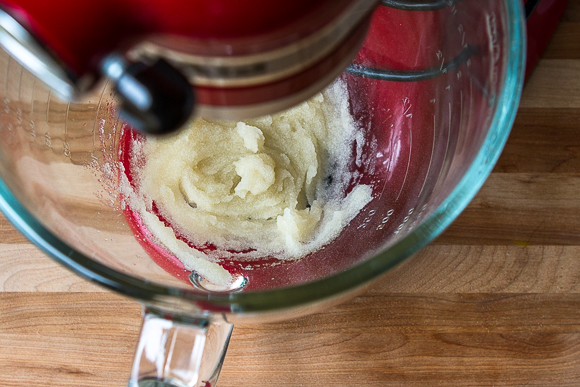
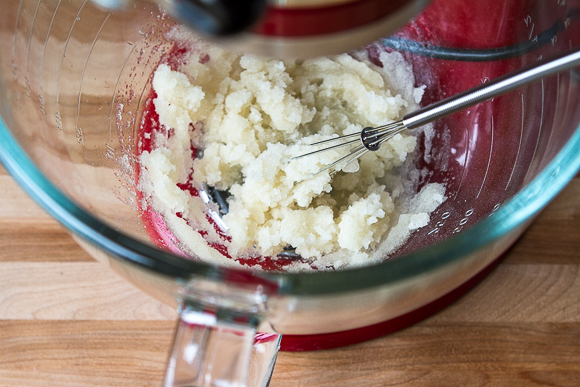
The marshmallows are little more complex than mixing a few ingredients. You will need a candy thermometer to get precise heat measurement and either a hand mixer or stand mixer (best) to beat the crap out of the marshmallow batter. The first thing you have to do is bloom the gelatin with cold water and vanilla. “Bloom” is fancy speak for mix it with some cold water until it looks like applesauce. Mix it with a fork (or cute tiny whisk) in your mixing bowl off the stand, then put it back on the stand once it looks like applesauce.
Let me tell you, if you over-mix it and it ends up looking like clumpy sand, it will all still be ok.
Set this bowl aside and get started on the syrup. I took no photos of this part because, I was nervous and, well, it’s serious business that must be watched! For some reason, boiling sugar water frightens me. With a four quart saucepan, in this order, pour in the water, the the sugar, then syrup and finally the salt. DO NOT STIR IT. Try to pour the sugar so it sits in in the center of the pan, not touching the sides. Bring the ingredients to a boil over high heat. If you see crystallization happening on the sides of the pan, you may either take a pastry brush, dip it in the sugar water and brush down the sides of the pan OR place a lid on the pan for 2 minutes (this is what I did). The steam trapped by the lid will melt any crystals that form. You will need a candy thermometer for precise measurement, clip it to the side of the pan and boil until it reaches between 247 and 250 degrees Fahrenheit. For a while there I didn’t think the temperature would get hotter but it eventually creeps up so keep a watchful eye. I think it took about 10 minutes or so. Again, NEVER stir it. Once your mixture has reached 247-250 degrees, remove the thermometer and take off of the heat. Turn your mixer on low (remember the gelatin you’ve already bloomed in the mixer’s bowl?) and slowly pour in the hot liquid over the bloomed gelatin. Wrap a towel around the mixer and bowl and raise the speed.
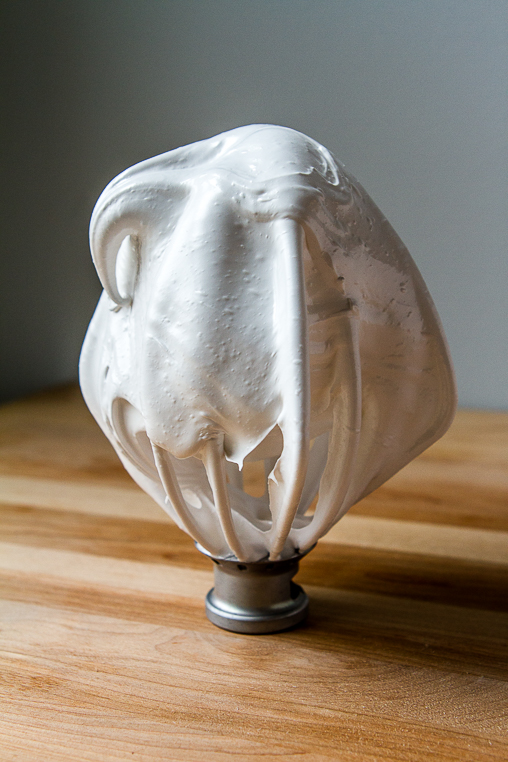
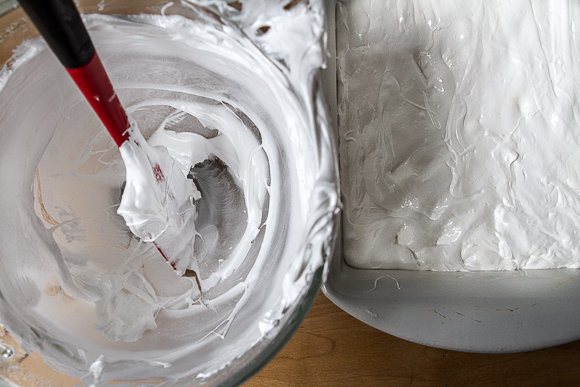
At first the liquid will be foamy and clear at the same time. After a few minutes it will begin to firm up and turn white. At five minutes you’ll notice strands forming between the whisk and bowl. Beat on medium high speed and total beating time should be 10 minutes. While the batter is mixing, coat a 9×12″ casserole dish (or whatever dish you prefer) with non-stick, non-flavored cooking spray. Wipe out the excess cooking spray with a paper towel. Spray your spatula too. I forgot to do this and, well, the below picture says it all. After 10 minutes of beating, remove the bowl from the mixer and immediately pour the mixture into your sprayed dish. It will be super thick and sticky.
Smooth it as best you can with your firm spatula then spray your hands with non-stick cooking spray and pat until firm. It won’t look perfect, but I think that’s part of the beauty.
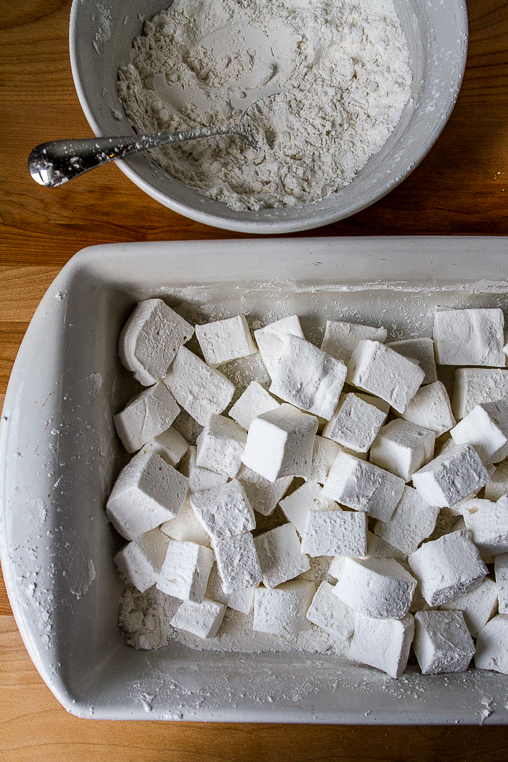
Leave it out, uncovered, unrefrigerated, for 6-24 hours to let it set. After it has set, mix together the cornstarch and powdered sugar in a bowl. Sprinkle the mixture over top of the marshmallows (while still in the casserole dish) and smooth out with your hands. “Flour” your cutting board with the cornstarch and powdered sugar mixture and flop the marshmallow block onto the cutting board, topside down.
Sprinkle more powdered sugar over the top of the block and smooth with your hands. I found a pizza cutter to be much easier to use than a knife.
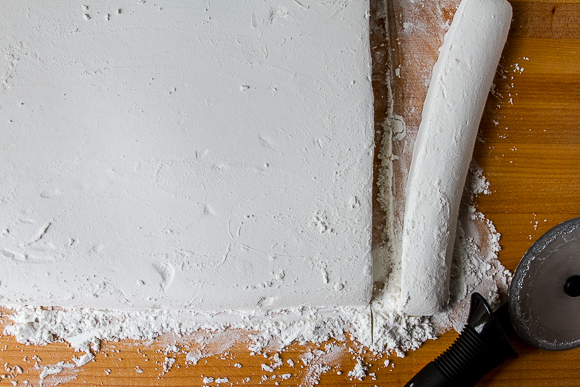 Cut marshmallows in your desired size (or use a cookie cutter) and roll in the powdered sugar mixture until all sides are evenly coated.
Store marshmallows in an airtight container for up to two weeks. Leftover powdered sugar mixture will keep (in a sealed container) indefinitely.
Homemade Marshmallows (only slightly adapted from The Kitchn)
Prep time: 30 minutes
Boil time: 10-12 minutes
Cure time: 6-24 hours
Makes: 9×12″ size pan of marshmallows
Ingredients:
For the gelatin bloom:
- 3 tablespoons of unflavored gelatin powder (4 packets or 1 ounce total)
- 1/2 cup cold water
- 1 1/2 tablespoons vanilla extract
For marshmallows
- 3/4 cup water
- 1 1/2 cups granulated sugar
- 1 1/4 cup corn syrup (like Karo)
- Pinch of kosher salt
- Non-stick, non-flavored cooking spray
For marshmallow coating
- 3/4 cup powdered sugar
- 1/4 cup cornstarch
Method:
- Remove stand mixer bowl from mixer and, using a fork, stir together gelatin, vanilla, and cold water until it is the consistency of applesauce and no large lumps remain. Return bowl to mixer stand and affix whisk attachment.
- In a 4 quart saucepan, in this order, pour in 3/4 cup water, sugar, corn syrup, and salt. Try to pour the sugar and syrup in the center of the pan, and not to touch the sides of the pan. Do not stir the pot.
- Over high heat, bring the sugar mixture to a boil and watch carefully so it doesn’t boil over the pan. All the liquid should be boiling, it will take a while for the syrup and sugar in the center to also boil. If sugar crystals begin to form on the sides of the pan, place a lid overtop for two minutes to melt the crystals. Do not stir the pot.
- Using a candy thermometer hooked to the side of the pan, boil the mixture until it reaches between 247 and 250 degrees Fahrenheit. Remove the thermometer and pan from heat.
- Turn the mixer on low and pour the hot liquid into the bloomed gelatin. Set a timer for 10 minutes. Place a towel around the mixer and turn the speed up to medium-high.
- At first the liquid will be foamy and clear at the same time. After a few minutes it will begin to firm up and turn white. At five minutes strands will form between the whisk and bowl. Beat on medium-high speed and total beating time should be 10 minutes.
- While the batter is mixing, coat a 9×12″ casserole dish with non-stick, non-flavored cooking spray. Wipe out the excess cooking spray with a paper towel. Spray a stiff spatula too.
- After 10 minutes of beating, the marshmallow batter should be sticky, thick, and glossy. Remove the bowl from the mixer and immediately pour the mixture into your sprayed dish.
- Smooth with firm spatula then spray hands with non-stick cooking spray and pat until firm.
- Allow marshmallows to sit out, uncovered, unrefrigerated, for 6-24 hours to cure.
- After marshmallows have cured, mix together the powdered sugar with the cornstarch. Sprinkle a few tablespoons of the mixture over top of the marshmallows (while still in the casserole dish) and smooth, using hands. “Flour” a cutting board with the cornstarch and powdered sugar mixture and flop the marshmallow block onto the cutting board, topside down. Sprinkle more powdered sugar mixture on the opposite side of the marshmallow block and sides.
- Cut marshmallows in your desired size (or use a cookie cutter) and roll in the powdered sugar mixture until all sides of each individual marshmallow are evenly coated.
- Marshmallows will keep in a ziplock or airtight container at room temperature for up to two weeks.
Ingredients for Cocoa-Mocha mix:
- 2 cups sugar
- 1 1/4 cups cocoa powder
- 1 tablespoon instant espresso powder
- 1/2 tablespoon table salt
Method:
- Mix ingredients well and store in airtight container. It will keep all winter long!
- Add 2 tablespoons of mix to 1 cup of warmed milk.
- Serve with many marshmallows!




When can I expect them in the mail for the holidaze? : )
Ok, so we’ve been going through the teething etc…and sleep deprivation has driven me to do a lot of crazy things but I can say with confidence that NEVER will it drive me to make mallows, my friend. And I have a crazy cocoa habit. They look amazing so I will just hope for a “holiday gift”! 😉 You impress the hell outta me, mama!!! You’re gonna be one of those kid’s moms in Spencer’s class that I love….but hate bc they make me look bad 😘❤️
Aw Kate, you are too sweet. It gets better! P just woke up! We had 8 hours of uninterrupted sleep last night and I feel amazing.
Yippee!!! Enjoy feeling rested while it lasts!! 😘