I baked a strawberry chiffon cake with my mom last week! Tennessee strawberries are ripe, y’all, and it’s time to hatch a strawberry plan. Of course the first thing that comes to mind is pairing them with a sponge cake. It’s simple, not overtly sweet, and an awesome vessel for red-ripe strawberries. Strawberry chiffon cake is also the perfect accompaniment to help celebrate my sweet nanny’s birthday.
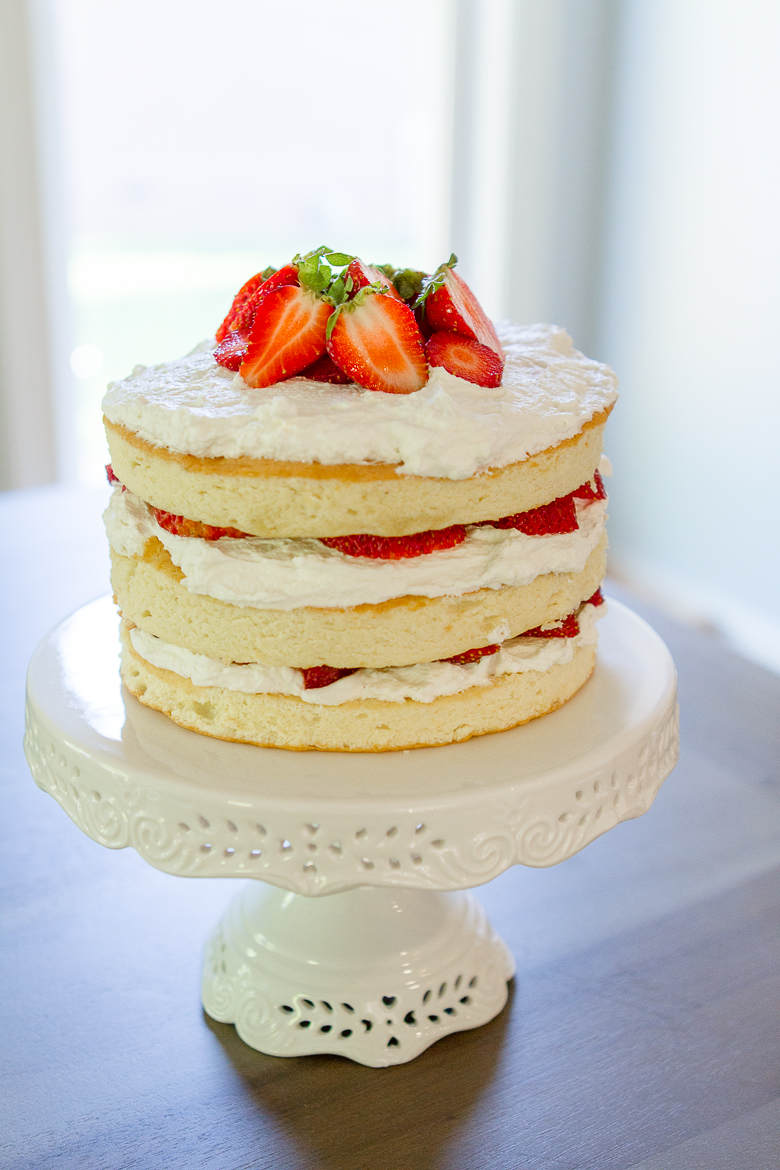
yummmmmmmy
Because the prime time to bake is when my toddler is sleeping, my mom and I had a twofold problem. One; my toddler sleeps so lightly that the slightest rustle of a chip bag can wake him. Two; baking involves using the stand mixer which is the loudest tool in the kitchen. My brilliant mother says, “let’s take it outside on the deck!” So we measured our ingredients, found an extension cord, and carted everything outside. When I went out there, I found this beautiful display and my mom says, “you should take a picture of this and put it on your blog!”. Um, ok mom, good idea!
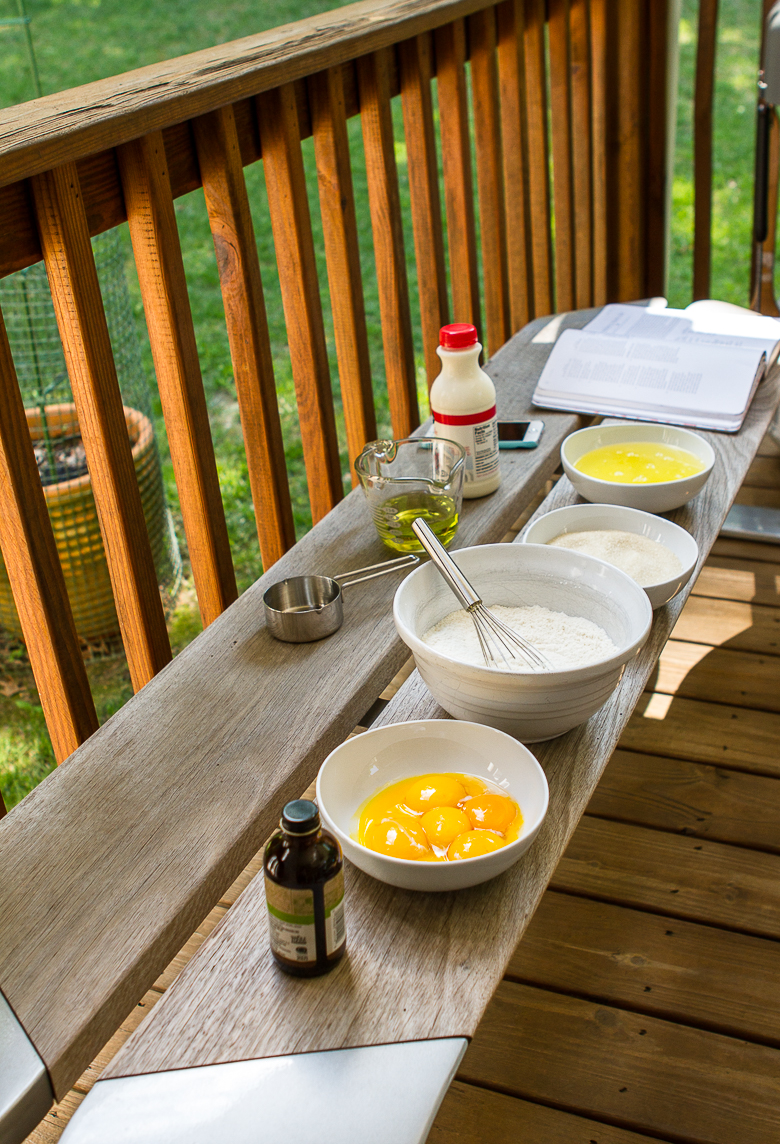
the ingredient bench!
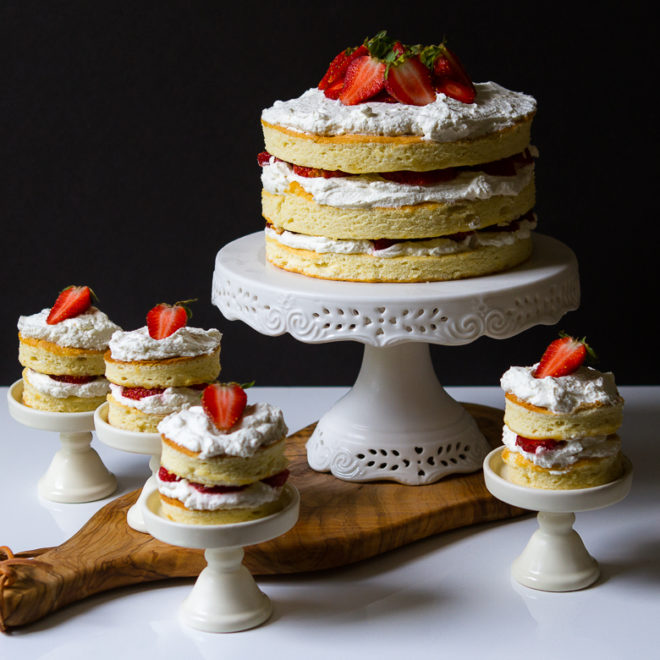
Think of the cake in three parts; 1. cake, 2. whipped cream (yes you can totally make your own!) and 3. assembly. This recipe will make one four layer, 8″ round cake that serves 10-12 people OR you can choose to make a sheet pan and stamp out whatever pieces you want to use (like I did) and make a three layer 6″ round cake and four biscuit cutter-sized two layer cakes. This is a nice thing to do for yourself when you give away a cake because it still allows you to have a piece without cutting into the actual cake. Also, mini cakes are super cute!!!
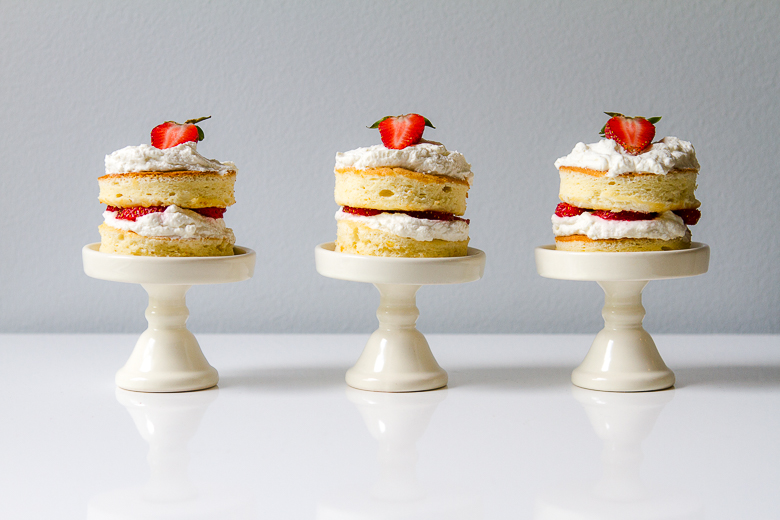
🍓super cute!
Firstly, for the cake, measure out your ingredients and preheat your oven to 350°F. Grease the bottom of a 10×15″ sized jelly roll pan (you know, the one we bought for the Milk Bar birthday cake?), line it with parchment paper and set aside for later. Whisk the flour, baking powder and salt together and set aside. Fit the stand mixer with a paddle attachment and beat the grapeseed oil and 250 grams (1 1/4 cups) of sugar on medium speed for a minute. Add the vanilla and egg yolks, one at a time, mixing in-between yolks until each yolk is incorporated. It should take about 3 minutes. Don’t forget to occasionally stop the mixer and scrape down the sides. Turn the mixer to low and start to add the flour and milk, alternating between the two, beginning and ending with the flour. Mix until just combined.
This is where I was like, woo-hoo! Slop flour everywhere because we are outside and it does not matter!

mom, can we make outdoor baking be our new thing?
Pour the batter into a large bowl and set it aside. You’ll have to clean and dry the mixing bowl (or get an unused one) before whipping the egg whites. Fit the mixer with a whisk attachment and whisk all the egg whites on medium speed until foamy. Once foamy, add the remaining 2 tablespoons of sugared the cream of tartar and crank it up to high until stiff peaks form. Stop the mixer and in thirds, scoop out the egg whites and add them to the cake batter. Do half turns of the bowl, swiping the spatula around the edge of the bowl before cutting it down the middle of the bowl to incorporate the egg whites into the batter. Pour the batter into the prepared pan and bake at 350°F for 25-28 minutes, or until a toothpick inserted in the middle comes out clean.
Let the cake rest for 10 minutes before lifting it out of the pan to cool completely on a wire rack.
Second task is to make the homemade whipped cream. Of course you may buy some from the store, but this is going to be so much better. So. Much. Better. The original recipe calls for an infusion of basil whipped cream but since I didn’t have enough, I opted for mint with a hint of basil. It did not disappoint.
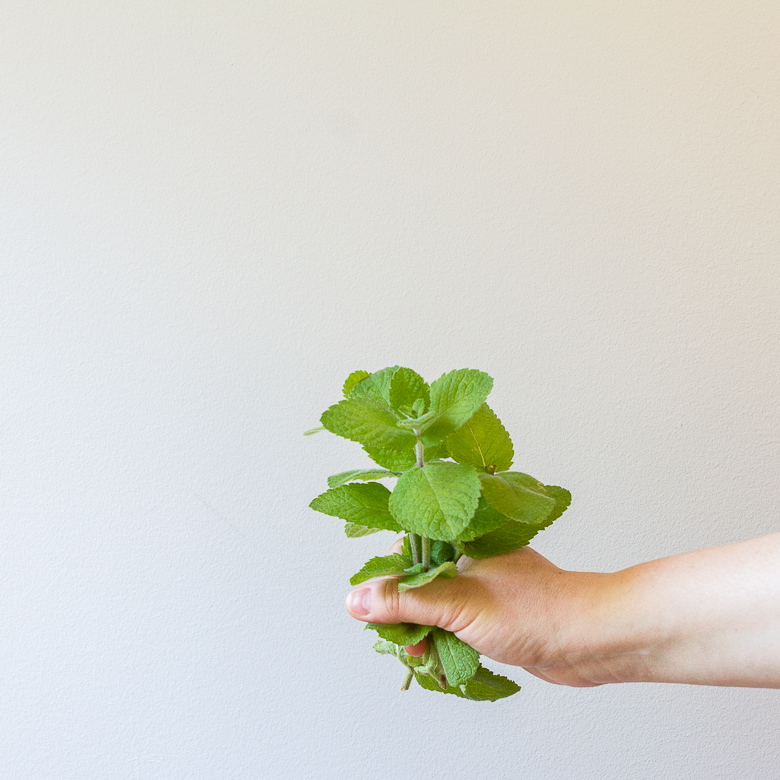
applemint🌿 is as soft as a lamb’s ear
Muddle the mint leaves and basil leaves together, then set aside. Heat 2 cups of heavy whipping cream in a saucepan over medium-low heat, until bubbles form around the edges. Remove the cream from the heat and add the muddled mint and basil leaves. Let steep for 30 minutes, then transfer the mixture to a container. Refrigerate until cold; at least an hour. Strain out the leaves, and pour the cream into a stand mixer. Using the whisk attachment, mix the cream on medium speed until it begins to thicken, then add the sugar and vanilla. Crank up the speed to high and whisk until medium peaks form. You can store the whipped cream in the fridge for up to 8 hours before use. Do not assemble the cake with the whipped cream until just before you are going to eat it.
Lastly, let’s assemble this thing! I only used a few handfuls of strawberries for my small 6″ cake and tiny cakes. I would recommend setting aside a pint of strawberries. Hull the strawberries and slice them 1/4″ thick. Save some of the best ones for garnish. Using a 6″ round cutter, stamp out your cake rounds from your 10×15″ pan. You will get two full rounds and two half rounds. This is a picture of the birthday cake for reference, make the same cuts for your chiffon cake.
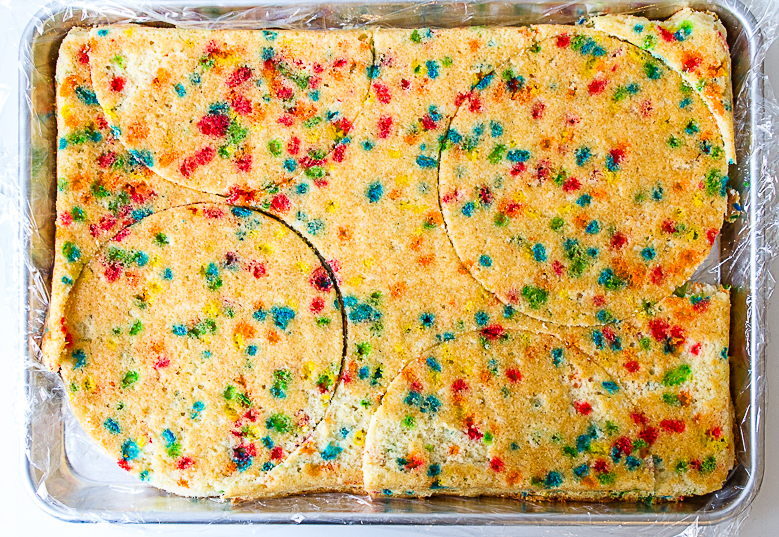
THIS IS NOT THE CHIFFON CAKE-it is only a photo for cutting reference!
Using the leftover scraps from cutting out your 6″ cakes, you should be able to get 8 small rounds, using a biscuit cutter. To assemble the cakes, place the cake on the bottom, then a layer of whipped cream, and lastly, a layer of strawberries (I laid mine flat). Repeat, using the two halves for the middle layer and finish with remaining perfect strawberries.

assembly, we are almost there!
Try to keep your family away until photos are finished.
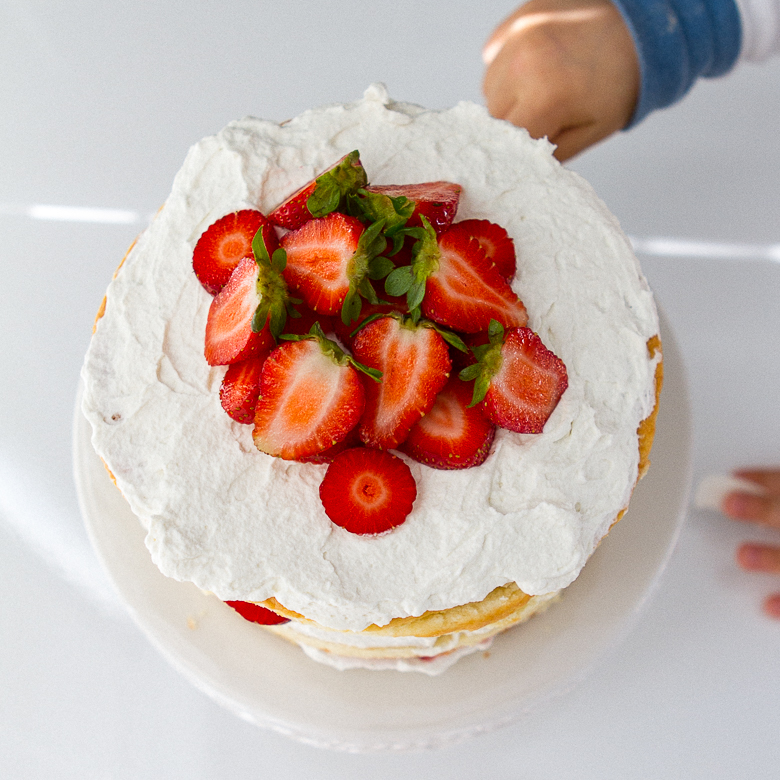
you’d better believe those little hands are grubby!
This cake is so good, so simple, and so light. You’ll feel like you are eating a sweet strawberry puff!
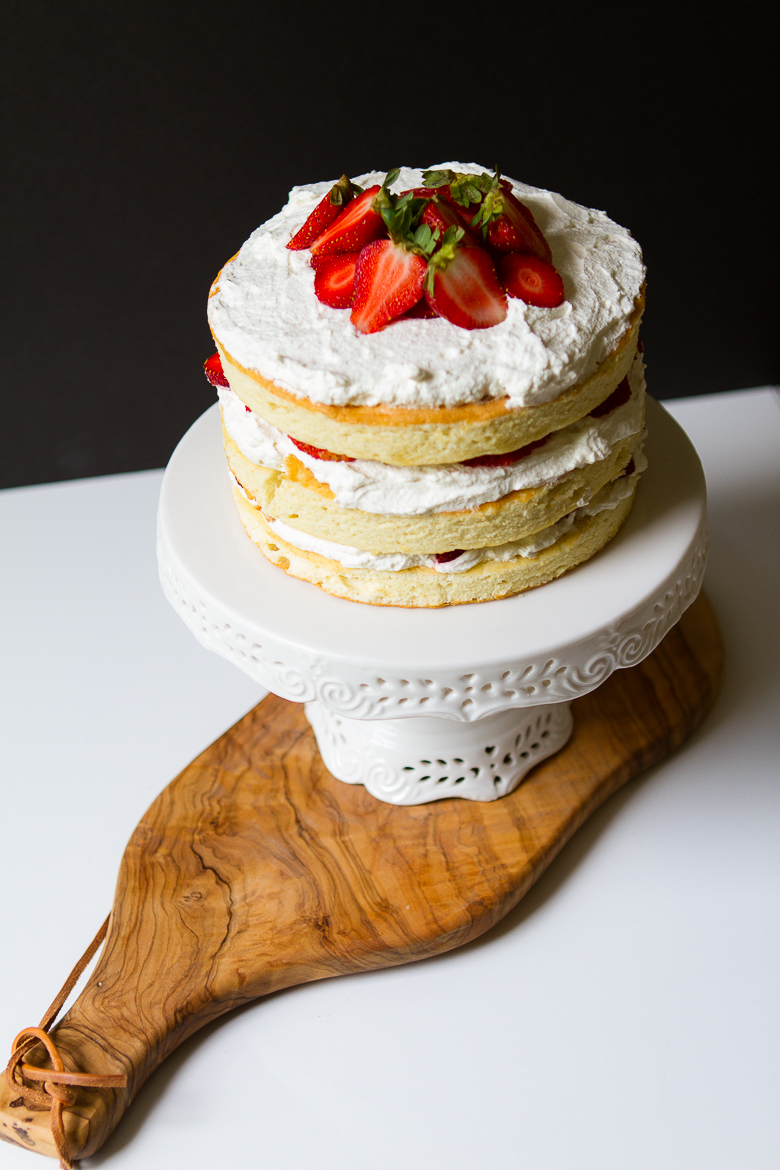
Strawberry Chiffon Cake (recipe by Tessa Huff, from the cookbook Layered.)
Prep time: 30-45 minutes
Bake time: 25-28 minutes
Feeds: 10-12 people
Cake Ingredients:
- nonstick cooking spray (like Baker’s Joy!)
- 260 g (2 cups) cake flour
- 2 teaspoons baking powder
- 1/2 teaspoon kosher salt
- 1 cup grapeseed oil
- 250 g (1 1/4 cups) plus 25 g (2 tablespoons) granulated sugar
- 2 teaspoons pure vanilla extract
- 6 large egg yolks
- 1/2 cup whole milk
- 8 large egg whites
- 3/4 teaspoon cream of tartar
Method:
- Preheat oven to 350°F. Grease the bottom of a 10×15″ sized jelly roll pan and line with parchment paper. Set aside.
- Whisk the flour, baking powder and salt together and set aside.
- Fit the stand mixer with a paddle attachment and beat the grapeseed oil and 250 grams (1 1/4 cups) of sugar on medium speed for one minute.
- Add the vanilla and egg yolks, one at a time, mixing in-between yolks until each yolk is incorporated; about 3 minutes. Scrape down the sides of the mixing bowl.
- Turn the mixer to low and start to add the flour and milk, alternating between the two, beginning and ending with the flour. Mix until just combined then pour into a large bowl and set it aside.
- Clean and dry the mixing bowl (or get an unused one) before whipping the egg whites. Fit the mixer with a whisk attachment and whisk all the egg whites on medium speed until foamy. Once foamy, add the remaining 2 tablespoons of sugared the cream of tartar and crank it up to high until stiff peaks form.
- Stop the mixer and in thirds, scoop out the egg whites and add them to the cake batter. Do half turns of the bowl, swiping the spatula around the edge of the bowl before cutting it down the middle of the bowl to incorporate the egg whites into the batter.
- Pour the batter into the prepared pan and bake at 350°F for 25-28 minutes, or until a toothpick inserted in the middle comes out clean.
- Let the cake rest for 10 minutes before lifting it out of the pan to cool completely on a wire rack.
Mint Basil Whipped Cream Ingredients:
- 2 1/2 cups heavy whipping cream
- 1 cup mint & basil leaves (lightly packed)
- 2 tablespoons granulated sugar
- 1/2 teaspoon pure vanilla extract
Method:
- Muddle the mint leaves and basil leaves together, then set aside.
- Heat 2 cups of heavy whipping cream in a saucepan over medium-low heat, until bubbles form around the edges.
- Remove the cream from the heat and add the muddled mint and basil leaves.
- Let steep for 30 minutes, then transfer the mixture to a container.
- Refrigerate until cold; at least an hour. Strain out the leaves, and pour the cold cream into a stand mixer.
- Using the whisk attachment, mix the cream on medium speed until it begins to thicken, then add the sugar and vanilla.
- Crank up the speed to high and whisk until medium peaks form.
- You can store the whipped cream in the fridge for up to 8 hours before use. Do not assemble the cake with the whipped cream until just before you are going to eat it.
Assembly:
Using a 6″ cake mold, stamp out 2 full sized cakes and 2 half rounds. Place a full sized cake on the bottom, cover with whipped cream, then strawberries sliced 1/4″ thick. Repeat piecing the two halves together for the middle layer. Trim the halves to make a perfect circle, if necessary. Garnish top with the best-looking strawberries.